How to remove decals from your bus conversion
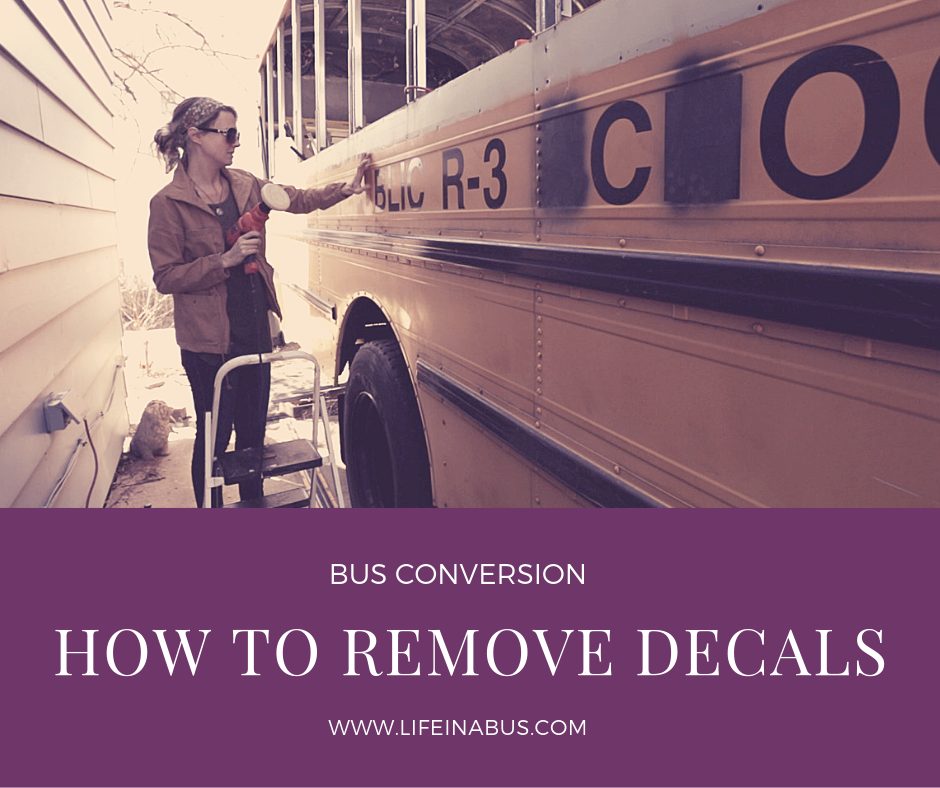
One of the very first things you can do on a bus conversion is remove the decals. It seems like a simple task but those decals have likely been adhered to your bus for quite some time. Here are three different methods you can use to remove them from your school bus. 1. Razor Blades Believe it or not, a simple razor blade will get you far when it comes to removing decals. It takes a little extra time and elbow grease, but they get the job done. No matter how small your budget, razor blades are only a few dollars. We recommend using a razor blade scraper because it…
What You Need to Know About Ceiling Panel Removal
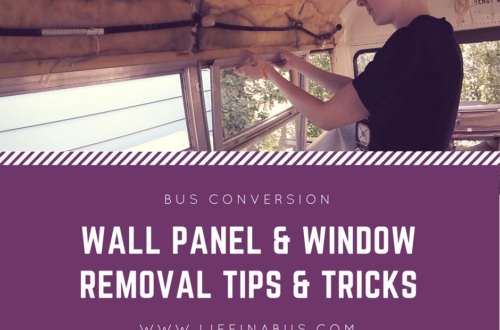
Removing ceiling panels seems like it would be fairly straightforward. However, there are some things that are good to know before getting started. There are two common types of fasteners that hold up the ceiling panels in a bus. The one you hope for is Phillips head screws. Ours, thank goodness, were Phillips. Then there are rivets, which are a little trickier to deal with. This is also true for the side panels underneath of the windows, but we’ll get to that in a later post. Remove interior lights and panels above windows. The first panels that we had to remove were the ones that are above the windows. We…
Bus Conversion Heater Removal
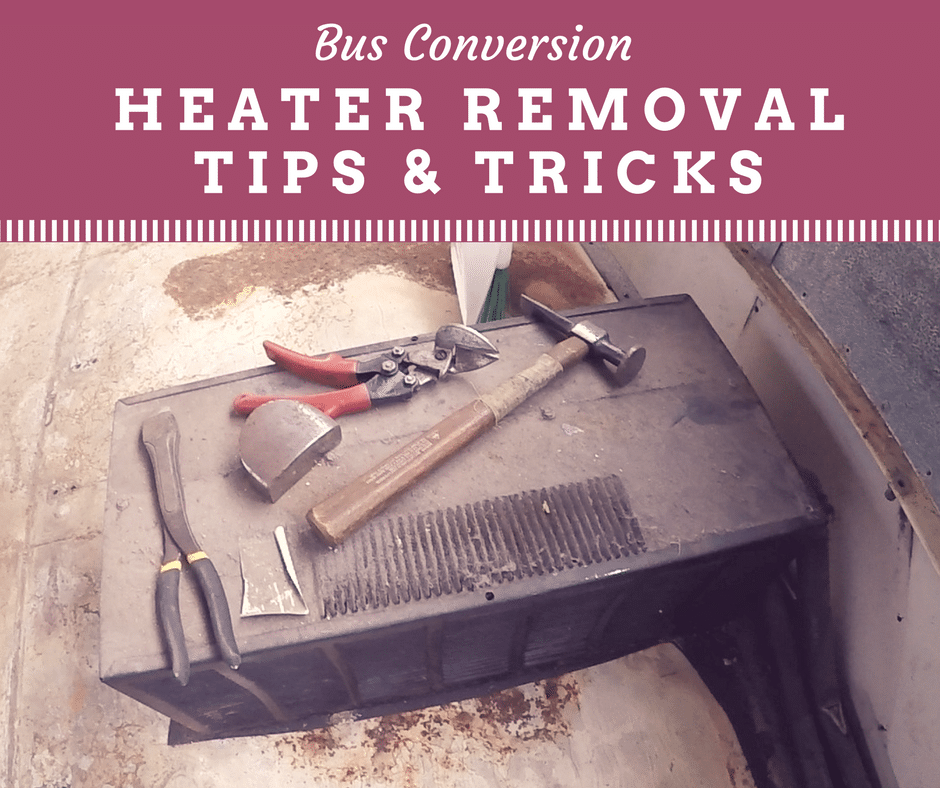
All buses have at least one heater in the rear, with some having two. Most people converting a school bus remove the back heaters. The reason for this is mainly that they are large and unnecessary. They also can get in the way of the interior design and layout of the bus. There is no reason to keep the rear one unless you are planning on having seating toward the rear of the bus. Most conversions keep the seating area toward the front. Remove Metal Casing around Coolant Lines The first thing we did was remove the metal casing that was around the hoses that ran from the front of…


